
Workwear Guru is reader-supported. When you buy through links on our site, we may earn an affiliate commission. Learn more
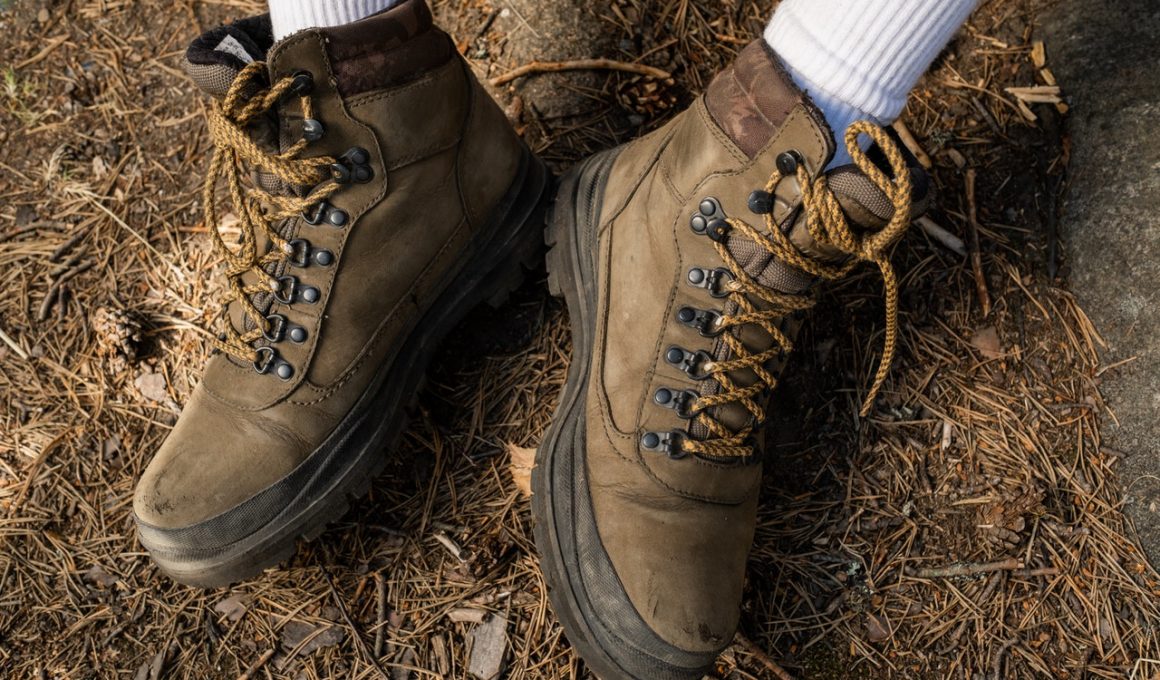
Whether you have just taken up hiking (yay you!) or have been hiking for years, there are a few things you need to know when it comes to your hiking gear, more specifically, about your hiking boots. Like basically anything in our lives, love and care are essential to keeping our hiking boots around for longer. Yes, we are talking about cleaning your hiking boots! And if you do not know how to go about it, then keep reading this article on how to clean hiking boots.
How Often Should You Wash Hiking Boots?
You probably do not want to hear this, but you need to clean your hiking boots after every hike. How to clean them and how long it will take to do that depends on the condition of your boots. If you have hiked in a generally dry trail, simply wiping them with a damp cloth and leaving them out to dry will do the job.
If, however, your hike was particularly muddy, or it’s been some time since you last gave them a proper cleaning, we have a list of tips and tricks to help you clean your hiking boots.
How to Clean Hiking Boots
If you still haven’t gotten around to the idea of cleaning your hiking boots after every use and are wondering if there is something you can do to skip the cleaning or at least make it easier—good news!— there is.
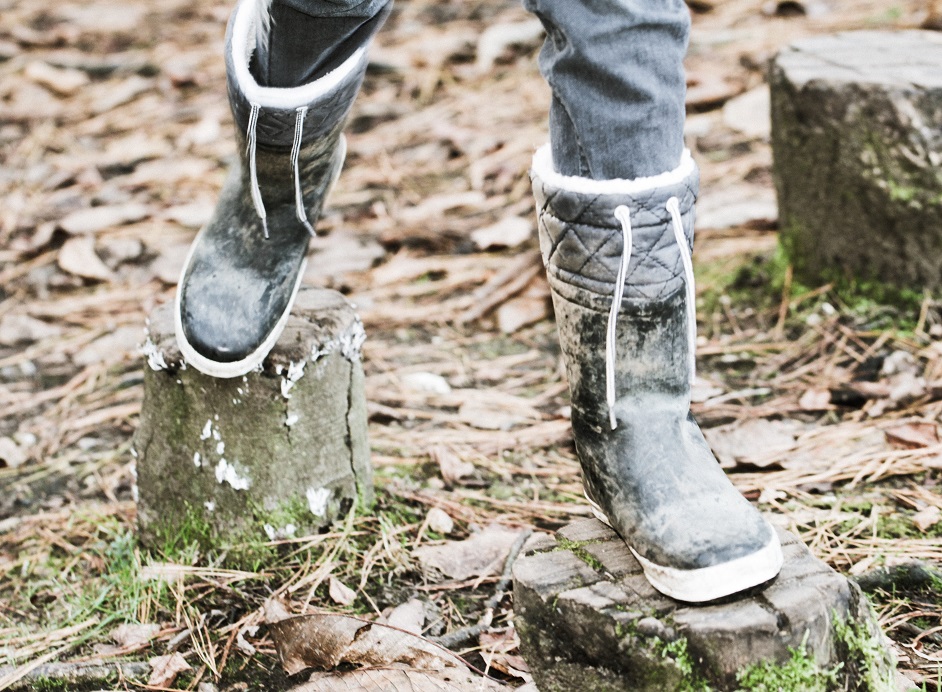
First of all, what makes cleaning your hiking boots so much more difficult is the built-up, dried-up mud on them. So, during your hike, if you notice that your boots are gathering dirt and mud like crazy, look for dewy grass or shallow streams of water you can walk on to get rid of as much mud as possible. Doing so will shorten the cleaning process at home and thus be less of a nuisance.
If you already have super muddy boots outside waiting to be cleaned, follow the tips below. But first, see the list of the things you need to get through the process of cleaning your hiking boots:
- A nylon brush (whether made explicitly for cleaning boots, vegetable brush, or a toothbrush)
- Boot cleaning solution or mild dish soap
- Running water or a bucket of water
Now that you have all your supplies, let’s get started:
Remove the laces and the insoles
The first step to cleaning your hiking boots is to remove the insoles and put them aside—those will need cleaning too. Secondly, remove the laces. We pull out the laces to make the process of cleaning and conditioning easier and to give the laces a proper wash too.
Remove dust and dirt
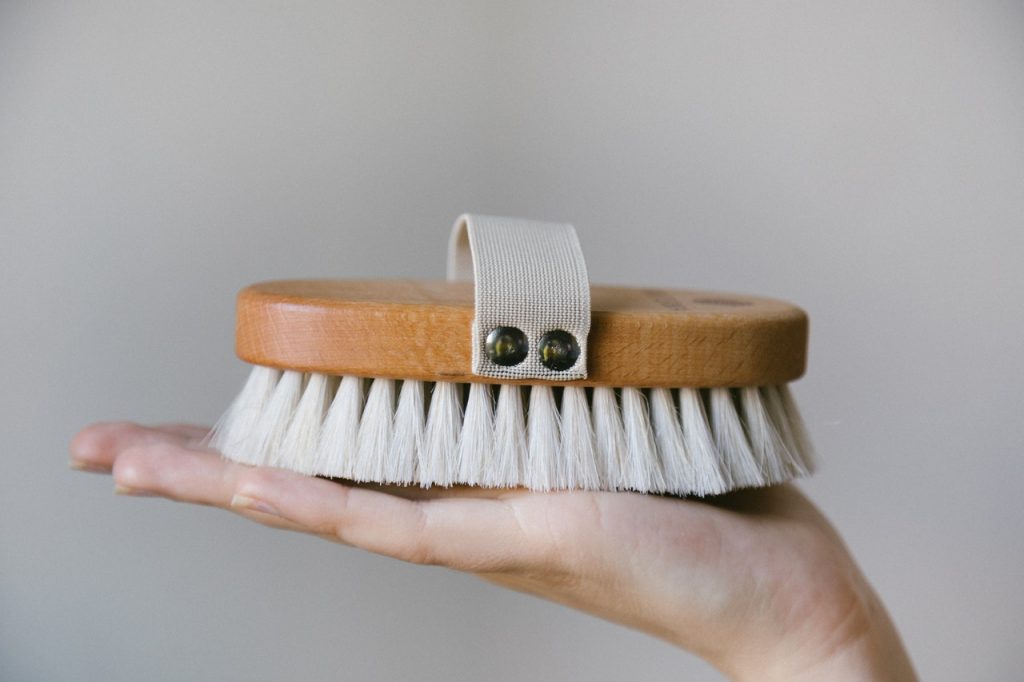
This step is for hiking boots that have caked-on mud and grit. Using any brushes from the list above, scrape away the dirt to expose the boot and clean it properly. If the mud is too thick and dry, we recommend soaking it in water to remove it more quickly and avoid damaging the boot.
Pop your boots in the freezer for about an hour if you have stepped on gum, sap, or any wax-like material during your hike and want to get rid of it. The low temperature in the freezer hardens the gum and waxes, thus making it easier to remove with a simple knife or pick. Be careful not to hurt yourself!
Wash

Now that you have gotten rid of the built-up mud, it is time to give your boots a thorough cleaning. This is where you use water and the cleaning agent, i.e., boot cleaner or dish soap. Make sure your boots are wet, and using the nylon brush, scrub away the leftover dirt and impurities on the upper part of your boots as well as the outer sole. Once it looks like your boots are clean enough, use running water to rinse them thoroughly. Do not forget to clean the insoles and the laces you removed as well.
Dry
This is where you can take a little break. Now that your hiking boots are squeaky clean, you must leave them to dry. This is also the part of the process where you need to be patient. Drying your hiking boots may take some time, so do not rush the process. It is ill-advised to leave your boots to dry near heat sources to try and speed the drying process. This is because the excessive heat from, say, a radiator or fireplace will dry up the leather part of your boots and wane the adhesives, thus shortening the lifespan of your boots.
If, however, you really need your boots to dry quicker because you want to go on another hike, you can use a fan to dry them. Another great option is to stuff your boots with newspaper as it will soak up the water. Just remember to change the newspaper regularly when it gets damp until your boots are completely dry.
Condition and waterproof
Hiking boots are designed to endure different temperatures and weather conditions. However, they do need a little help, especially if you have had them for a while. New hiking boots are ready to use straight out of the box, but if you have worn them for a time and exposed them to water and mud, you might need to apply a conditioner to waterproof them. Your boots might need conditioning if you notice that water does not bead up on the surface or slide to the side anymore. This means your boots are soaking that water, which will damage them. In order to grant your hiking boots a longer lifespan, apply conditioner after cleaning them. You can choose the type of boot conditioner based on the material of your boots. Please read the instructions that come with the conditioner to find out the amount you need and how to apply it.
Some extra pro-tips for cleaning and storing hiking boots
- Avoid leaving the mud on your boots to dry.
- Do not put your boots in the washing machine.
- Do not use heavy-duty detergents for cleaning your boots.
- Put conditioner on your boots before they dry completely.
- Do not leave your boots to dry in direct sunlight.
- Dry your boots entirely before storing them to avoid mold and stains.
- If you get mold on your boots, clean them with a water and vinegar solution (4:1 ratio).
- Leave your boots to air out after each hike to prevent odors.
- Do not store your boots in unventilated places.
Conclusion
Though it might seem like a long list, taking care of your hiking boots is actually very easy and, not to mention, important. Properly cleaning your boots will enable you to use them for a more extended period. It would be a shame to let a simple cleaning process (scrub, rinse, dry, and condition) get in the way of new hiking adventures, so roll up your sleeves and start today. Oh, and happy hiking!