Workwear Guru is reader-supported. When you buy through links on our site, we may earn an affiliate commission. Learn more
We all might have been taught to tie our shoes a certain way when we were kids and we never thought twice about it. But, as an adult, with different interests such as hiking, you might be starting to wonder how to tie hiking boots to suit your needs. Well, you’ve come to the right place to find the answers you’ve been looking for. Whether it is sore feet that bother you, or constant heel slipping during a hike, or you just want a more secure lacing method so your laces won’t untie every few minutes, we’ve got you covered. So keep on reading to learn more about the different types of lacing methods you can try and what their benefits are.
Lacing Parts on a Hiking Boot
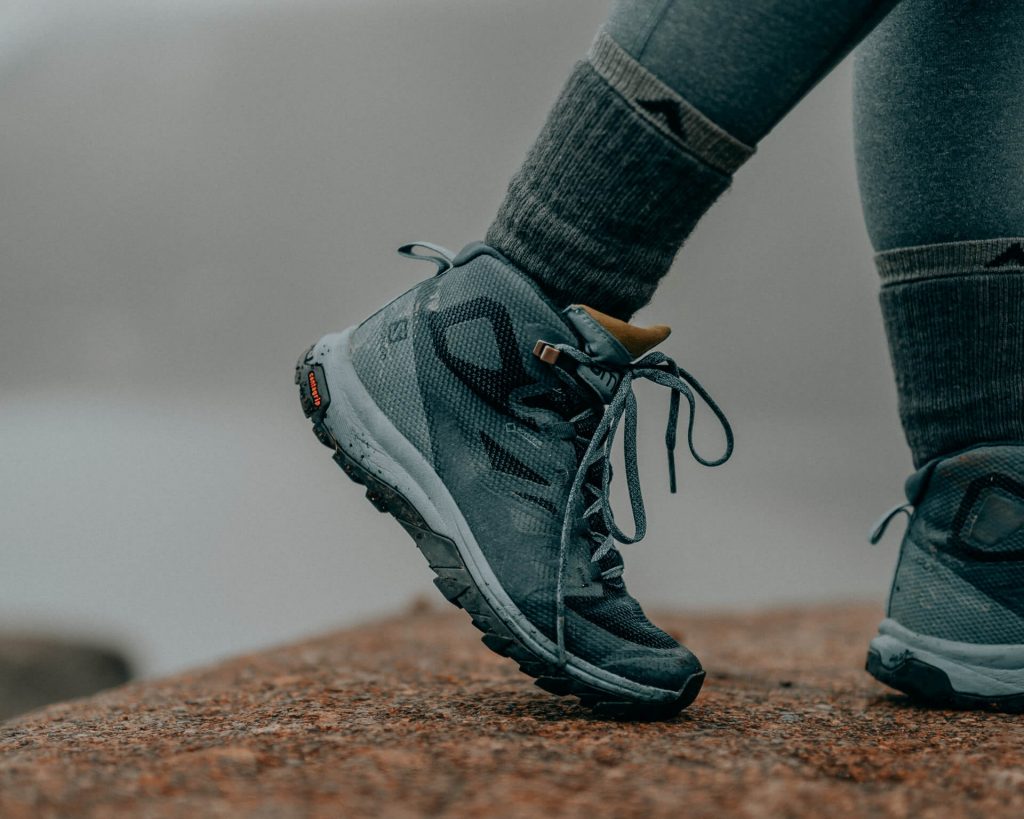
Once you’ve purchased a pair of hiking boots, you can modify the fit of the boots by using their lacing system. And most hiking boots come with two sections: the top of the foot area and the ankle area. Both are crucial to securing your feet into the boots in a comfortable position.
The top of the foot section secures your midfoot and forefoot, and the lacing usually happens through eyelets that are located in this section.
The ankle section secures your ankles and provides the final maximum support of the lacing system. Unlike the other section, the ankle area does not come with eyelets; however, it does come with the lace hooks in which you do the final tying of the laces. This section is important so to lock your heel in place and prevent it from slipping out during a hike; this could even prevent you from having blisters.
How to Lace and Tie Hiking Boots
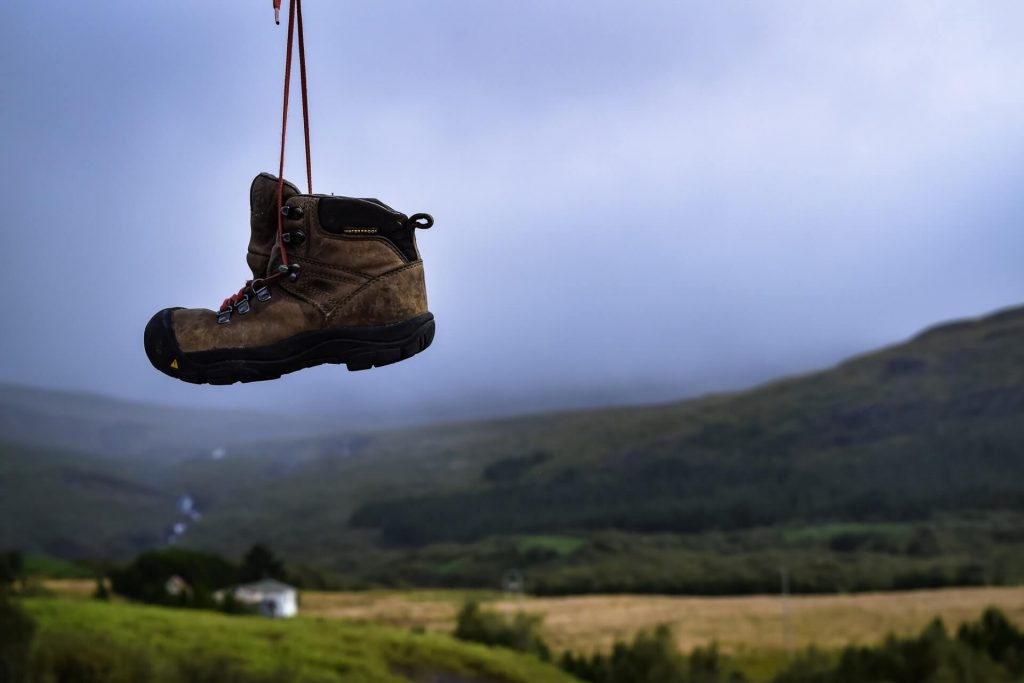
Lacing your hiking boots properly and securely is crucial to ensure maximum safety, especially hiking on rough terrain. Knowing the perfect lacing method to use in different situations could be a game changer especially if you are more prone to sore feet or heel slipping situations. The lacing methods we have picked out for you are all easy to learn and do, and they all have their own special purposes to serve the one who needs them.
Consider your foot shape
The first factor you need to consider regarding lacing hiking boots is your foot shape. No two feet are the same, which means not every lacing technique is the same for everyone. One that might be appropriate for someone, might be painful for your feet. Luckily, there are a lot of lacing methods that tend to your foot shape and relieve the pressure you might be feeling on your feet when you lace your hiking boots the wrong way.
Lacing methods
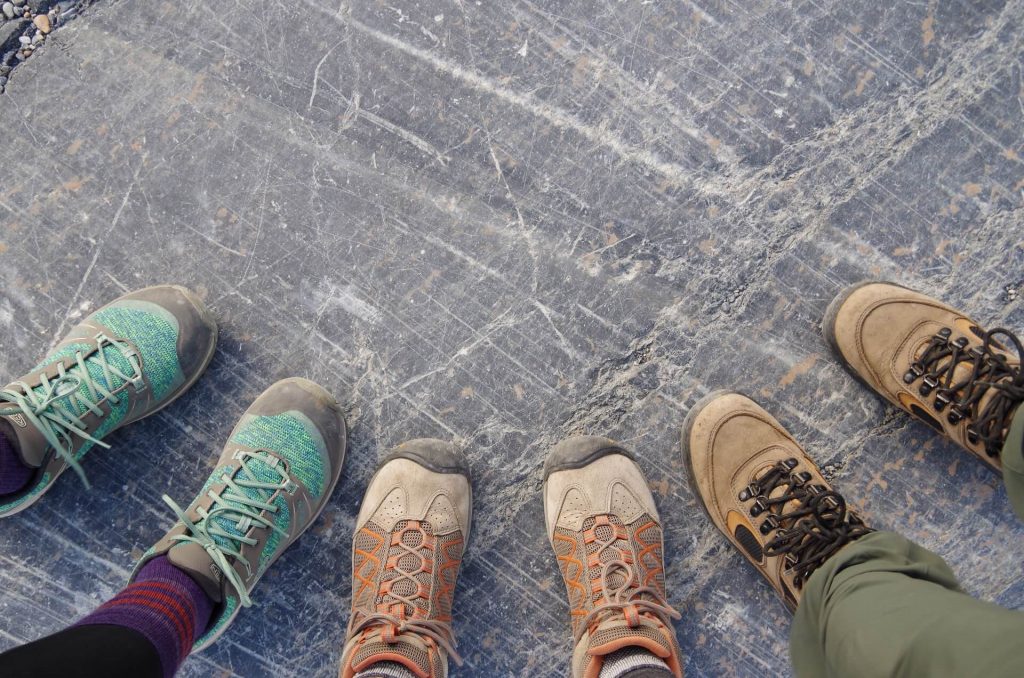
There is no one right way to lace your hiking boots, it’s all a matter of preference and comfort. This is why we have compiled a list of the four most common lacing methods for your hiking boots.
Surgeon’s knot
If your heels are prone to slipping while you’re hiking on especially rough terrain, the surgeon’s knot might be the choice for you. Heel slipping is caused by having too much interior volume at the top of the foot, this lacing method is there to prevent that from happening and ruining your comfort or hiking experience. So let’s begin the quick steps to the surgeon’s knot.
First, pick up any slack there might be in the laces, tightening the boot over the top of your foot. Then, locate the two closest eyelets to the point where the top of your foot is flexing forward; both of which will be used for the surgeon’s knot.
Grab both laces, wrap them around each other and then pull them tight. Make sure you’re lining up the laces directly to the next eyelet to “clasp” in the surgeon’s knot tension. Repeat this same procedure with the next highest eyelets. After that, just lace up your boots like you normally do, and there you have it, the surgeon’s knot.
The surgeon’s knot gets its name after the preciseness of surgeons when they secure threads in the suture. With this lacing method, you’ll be sure to be comfortable and secure throughout your hike trip.
The advantages of using the surgeon’s knot lacing technique:
- It prevents your heels from slipping while you’re hiking.
- It’s fast and easy to do.
- It’s comfortable and secure.
- It will not restrict movement.
Window lacing
Do you constantly suffer from pain on the top of your foot when wearing your hiking boots? This might even discourage you from going hiking since you can barely finish the hike without having sore feet. Well, this might definitely be from the lacing method you’re currently using. The top of your feet is the place where your boots get tightened the most and may cause pain; the window lacing method (or box lacing) can help with this. So without further ado, let’s take a look at the simple steps to the window lacing method.
First, unlace your boots down to the pressure point, the top of your feet. Start lacing again but skip the two eyelets at the pressure point, go to the next pair and then again cross the laces over each other. After that, all that’s left to do is lace your boots like you usually do and you’re done.
If you’re worried about the security of this lacing method, worry not. The window lacing method, while alleviating, is still very much secure and will keep your feet snug throughout your hiking.
The advantages of using the window lacing technique:
- It alleviates the pressure of the top of your feet.
- It does not sacrifice security.
- It’s a quick and easy lacing method.
Toe-relief lacing
If your feet, and more specifically, toes, get easily sore at the end of a hike, the toe-relief lacing method is for you. In order to relieve toe-box pressure, you must follow these quick and easy steps to help you get comfortable uphill and downhill.
First, unlace your hiking boots completely. Then, before you start lacing back up, skip the first set of eyelets in order to relieve some pressure off your toes. After that, just lace your boots like you normally do and you’re done. Hopefully, your toes won’t hurt after you’ve tried this method.
The toe-relief lacing method works for many, and it truly does make a difference. However, if you constantly suffer from sore toes after your regular hikes, it might be time for you to change your hiking boots. If you have a problem with sizing and fitting, consider buying customized boots..
The advantages of using the toe-relief lacing technique:
- It will relieve the soreness on your toes.
- It is secure and comfortable.
- It only takes two steps to do it.
Heel-lock lacing
Do your feet suffer from blisters while hiking? Well, you thankfully won’t have to endure that pain any longer because that’s what the heel-lock lacing method is for. Your feet might constantly slip out while you’re hiking and you’re trying to push them down, which is most likely resulting in painful blisters on your heels. This lacing method, as the name suggests, will lock your heel down and prevent any movement inside your boots. Let’s take a look at the steps you need to complete for this lacing method.
First, put on your boots and make sure your feet are completely at the back so your heels touch the interior fully. Then, find the spot at the front of your ankles where the foot meets the leg and locate this spot on your boots.
After you’ve located the spot, start lacing your boots up until that point and then tie a surgeon’s knot (see method above). Continue lacing upwards and into the final eyelets before finishing off with another surgeon’s knot. After that, just lace your boots as you usually would and you’re done.
The advantages of using the heel-lock lacing technique:
- Relieves pressure from heels and prevents blisters.
- Prevents your heels from slipping out of the boots.
- Prevents your toes from crashing on the front of the boots when walking downhill.
Lacing for uphill and downhill

Lacing for uphill and downhill allows you to adapt your lacing according to the terrain you’re hiking. You should set different lace tensions for both uphill and downhill for maximum comfort and security. Let’s take a look at how to do these methods:
Lacing for downhill: Lace your boots tight in both tensions (at the top of your feet and the ankle area). You do this to achieve better grip on the ground and stability.
Lacing for uphill: At the top of your feet, the lacing tension should be medium to tight. Make sure that your heels sit comfortably. As for the ankle area, the tension should be looser in order to not restrict movement when you’re hiking uphill.
Conclusion
We hope that you’re clicking off this article with at least one method that you will consider trying for your next hiking trip. The last thing you want to experience out hiking is constant foot pain or re-tying your laces. This is why the list and tips we have laid out for you are all guaranteed to tend to your sore feet or slipping heel hazards So do not deprive your feet of feeling comfortable and secure; try one of these lacing methods and keep your focus where it should be—off your laces and on the hike view!


