


Workwear Guru is reader-supported. When you buy through links on our site, we may earn an affiliate commission. Learn more
Hard hats are one of the most important pieces of Personal Protective Equipment (PPE) in industrial and construction sites. Head injuries from falling objects or other hazards from low overhead clearance can be serious and often even fatal; therefore, it is crucial to comply with all regulations for workplace safety and take your gear seriously.
When choosing a hard hat, there are a few steps to consider before wearing it. First, you will need to perform an initial inspection upon receiving it to make sure it is in good condition. Then comes its assembly, after which you check that the hat sits comfortably on your head and later ensure its proper maintenance after adding it to the list of your workplace protective equipment.
Inspection & Standards
The initial inspection is an important step before putting your hard hat to use. Primarily, you will want to figure out the type of hard hat you need for your type of work. The Occupational Safety and Health Administration (OSHA) differentiates three main classes of hard hats: CLASS G for general, CLASS E for electrical, and CLASS C for conductive hard hats.
Further, standards set by this regulatory agency draw between two types of industries and hard hat use requirements in each. Regulations can differ between those for industry workers and those for the construction industry. These regulations should serve as a guideline for your initial inspection, together with the hard hat instructions and specifications from its manufacturers.
Before assembling your hard hat, check for possible damage to the shell, such as dents, cracks, or holes. The suspension straps should not be frayed or have any cuts, and the suspension system should be intact as well.
Assembly

The process of assembling your protective hat is fairly simple and can be done in a matter of a minute. First, you will need to ensure you have the two essential components of the hard hat: the shell and the suspension system.
The shell is the hard outer part of the hat, which is made from rigid materials and is designed to protect the head from injuries. This part of the hard hat usually comes in two styles: full brim, which apart from the head provides protection to the face, nose, ears, and neck, whereas the cap style protects the head, forehead, and part of the face.
The suspension system is designed to fasten to the hollow part of the hard hat inside of its shell in order to absorb the shock and impact from a blow to the head. This part usually clips to the inner shell at either four or six slots, depending on the choice of design.
The chinstrap is an additional accessory of hard hats that is designed to increase security. This strap keeps the hard hat in place in work situations where it may fall off and attaches to the suspension system to ensure that the hat stays intact. It is not required in all workplaces, but as an effective security feature, it is recommended in most.
Now that we know its components, here are the simple and easy steps on how to assemble a hard hat:
1. Add the suspension
First, turn the shell upside down so that you can see the inside part. Then, grab the suspension and place it inside of the shell and place it so the brow padding (the soft contact point of the suspension) faces the front of the hat, whereas the adjustment knob or pin lock should face the back.
2. Secure the clips in their slots
Line up the four (or six) clips within their designated slots inside of the shell. Then, slide and clip each of the brackets into the slots using your thumbs until you hear a clicking sound.
3. Check if the clips are even
After securing the clips, perform a last inspection before putting on your hat and getting to work. Test the suspension out by making sure each clip is secured to the slots and that they are evenly lined inside of the hat. Your hat is now ready to use!
How Should a Hard Hat Fit?

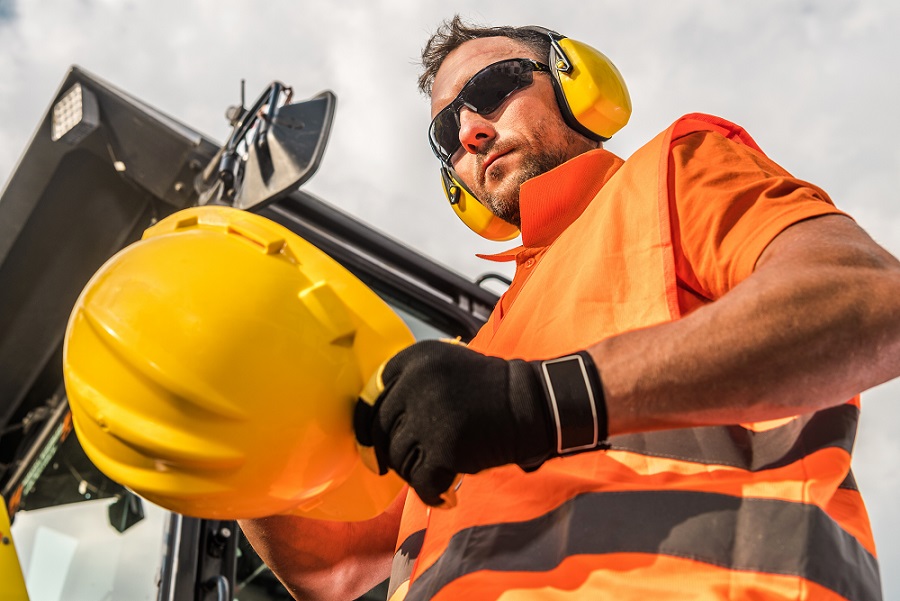
A proper and comfortable fit is essential for all pieces of PPE, hard hats being no exception. This is a piece of protective equipment that you will most likely be using for longer periods of time, therefore it is important that it fits well and does not pinch or irritate your skin.
To make sure it performs its function of protecting your head well, your hat should not bind, slip, or fall off your head. The hat should always be worn with its bill facing forward so it protects your forehead, whereas the height in which the hat should sit is not specified in regulations. As long as the outer shell covers the entirety of the head and can shelter it from falling objects, the height can more or less be subject to change.
Hard Hat Maintenance
Now that the hard hat assembly is completed and you’ve made sure it fits properly, we suggest taking into consideration some of the following advice for maintaining and taking care of this piece of protective gear.
- Keep the hard hat free of scratches, abrasions, and cracks. These can cause the hat to break easily, and in the case of a falling object, it will not perform its protective function.
- Don’t store the hat in direct sunlight or in extreme temperatures as it will weaken its material and consequently shorten its lifespan.
- Clean your hat and remove dirt from both the shell and suspension unit with mild soap and warm water. Avoid using harsh chemicals as these can also damage the shell’s material.
- Do not sit on your hardhat and avoid dropping or throwing it.
- Avoid drawing, painting, or decorating your hard hat in any way that makes it difficult to assess it for possible damage.
Properly assembling and taking care of your protective equipment is crucial for ensuring maximum workplace safety and avoiding injuries. These were the simple steps for assembling, fitting, and maintaining this useful piece of headgear for industry and construction workers.