


Workwear Guru is reader-supported. When you buy through links on our site, we may earn an affiliate commission. Learn more
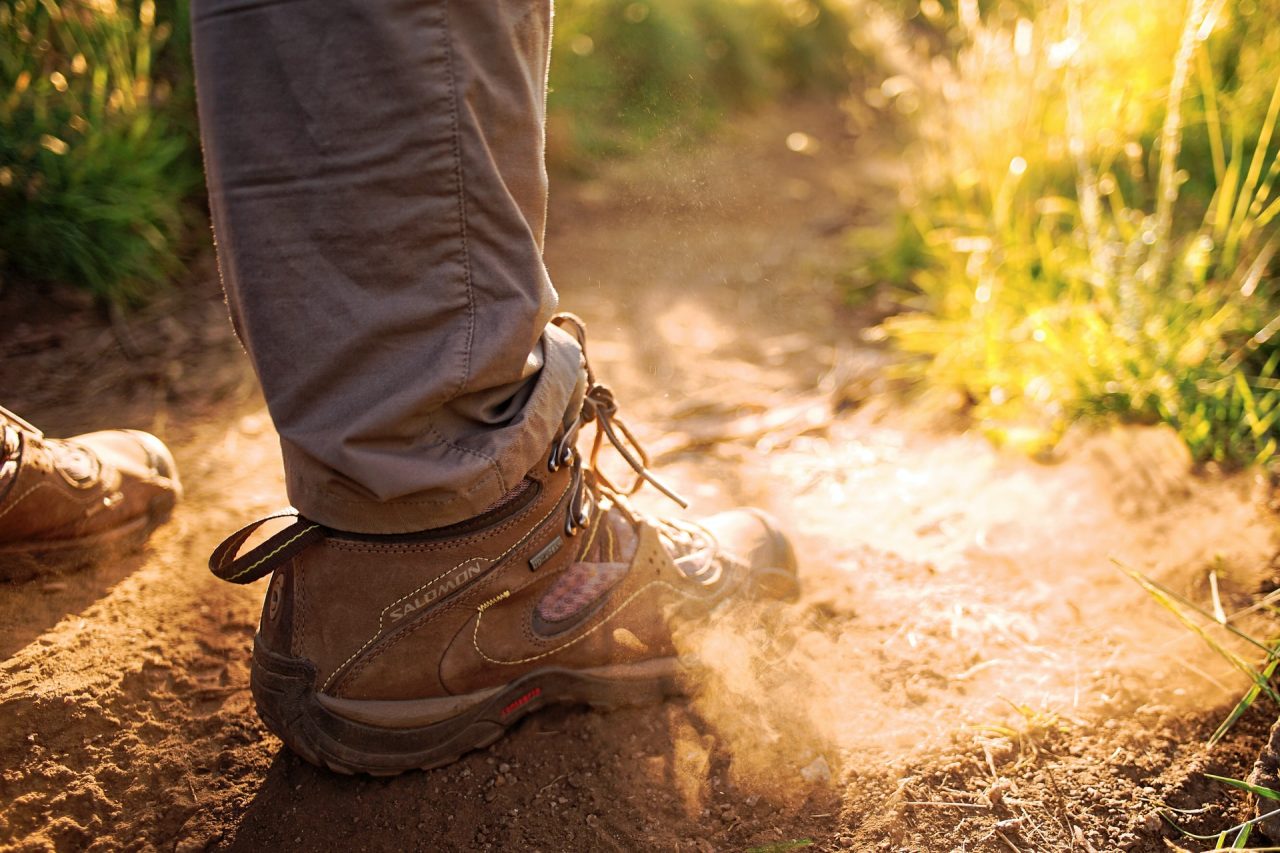
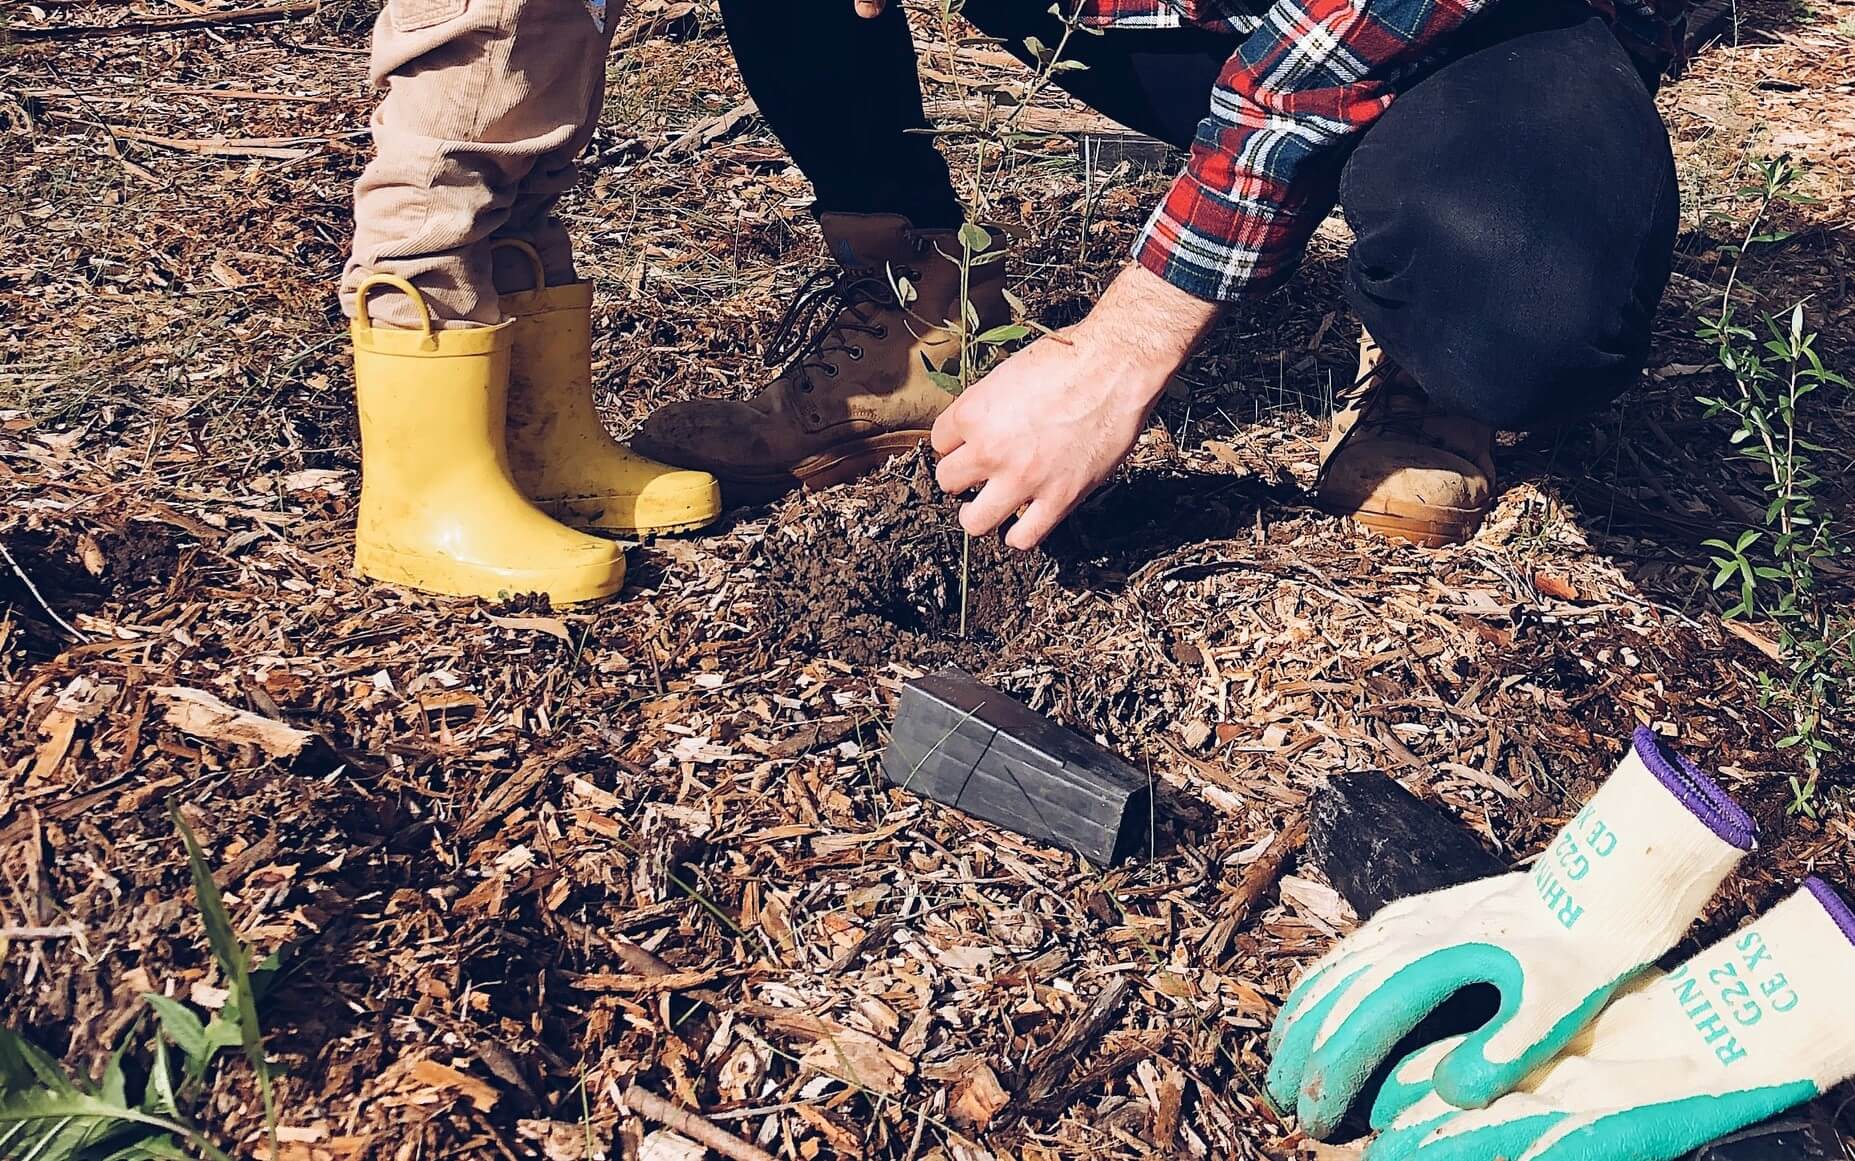
You have probably heard the expression “Walk a mile in someone else’s shoes”! The main question would be how comfortable it is for someone else to walk in your boots? Most probably, the first aspect someone walking in your shoes would complain about is the hole that has developed in your worn-out boot heels.
Since the heel is the part of the body that withstands the most weight, it is logical for the boot heel to get damaged first. In addition, the heel is the part of the boot that gets the most rubbed against the road’s surface, which consequently leads to worn-out boot heels.
Preparation And Tools To Fix Boot Heel
A worn-out boot heel may cause a lot of discomforts and physical health issues for the one wearing the boots. Therefore, it is essential to invest some of your time and money into the process of repairing your broken boot heel.
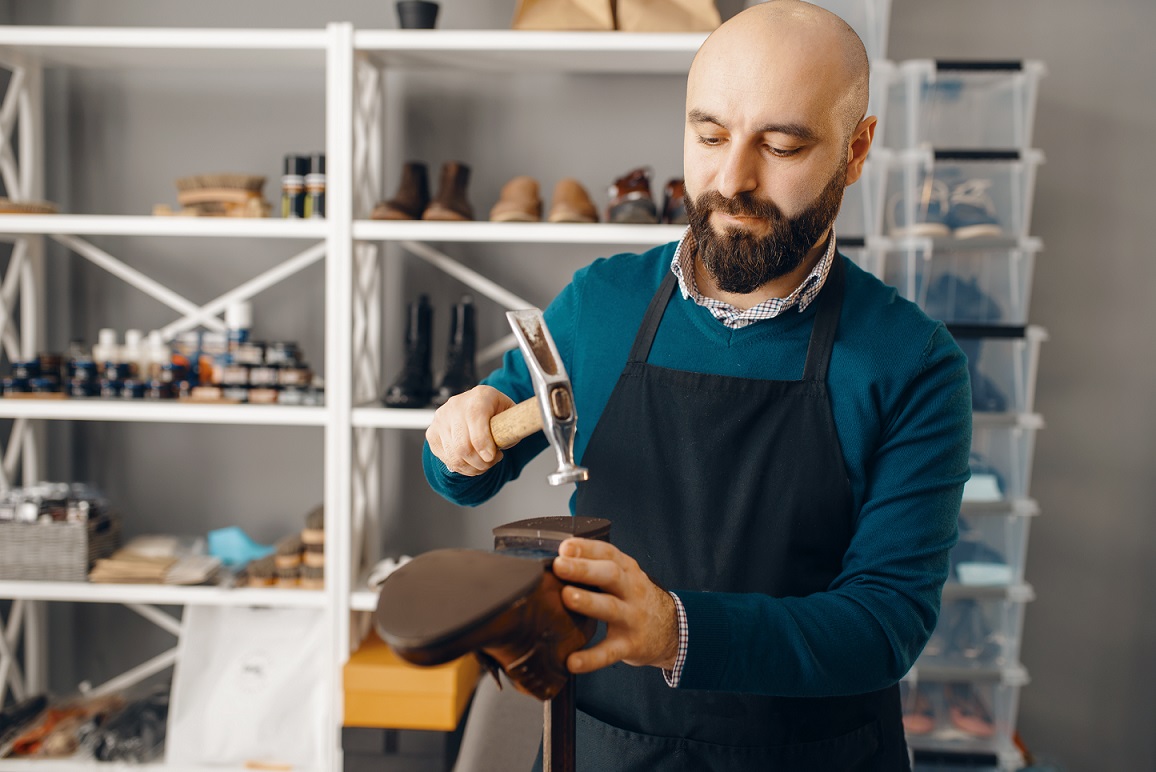
In order to fix your damaged boot heels at home, you’ll need a set of tools. The tools that are required to fix your boot heel, all by yourself, are simple and can be found in almost everyone’s tool kit.
During this process, you will need:
- a shoe repair adhesive,
- rubbing alcohol,
- cleaning cloth or brush (you can even use a toothbrush),
- pliers,
- hammer,
- duct tape, and
- sandpaper for sole repairs.
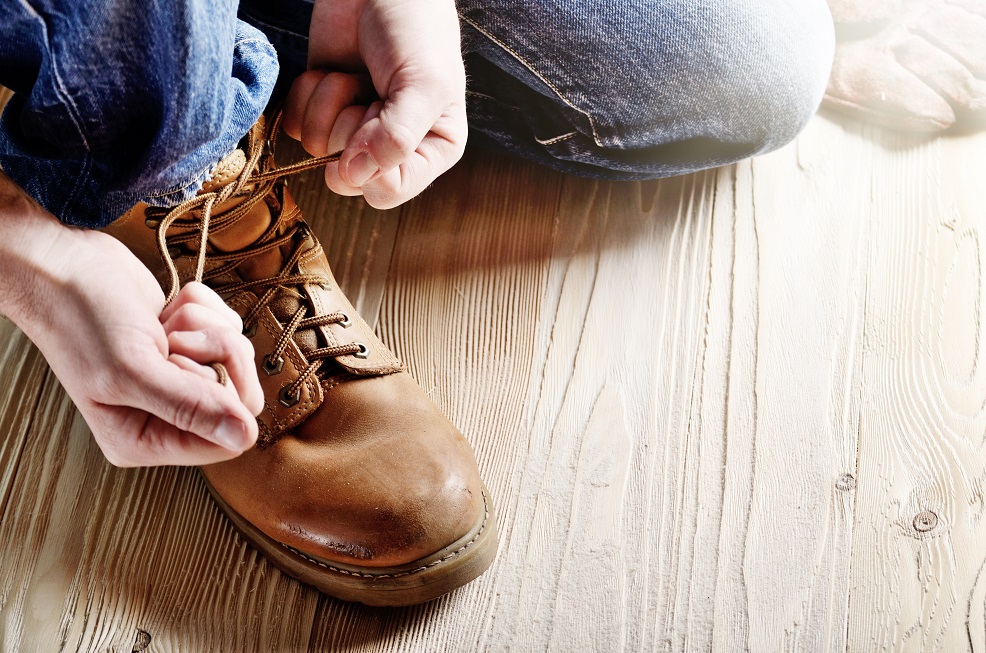
Before starting the fixing process, make sure that your boot (particularly the boot heel) is clean and dry. Start the cleaning process by removing your shoelaces, and continue by brushing away any dirt with a soft cleaning cloth or stiff brush. Afterward, apply water and soap to clean your boots thoroughly. Rinse them with a clean cloth and water and finally let them dry. After you have finished the preparation stage, it is time to use one of the many methods to fix your boot heel.
Tune in to learn how to fix boot heel.
3 Ways How To Fix Boot Heel

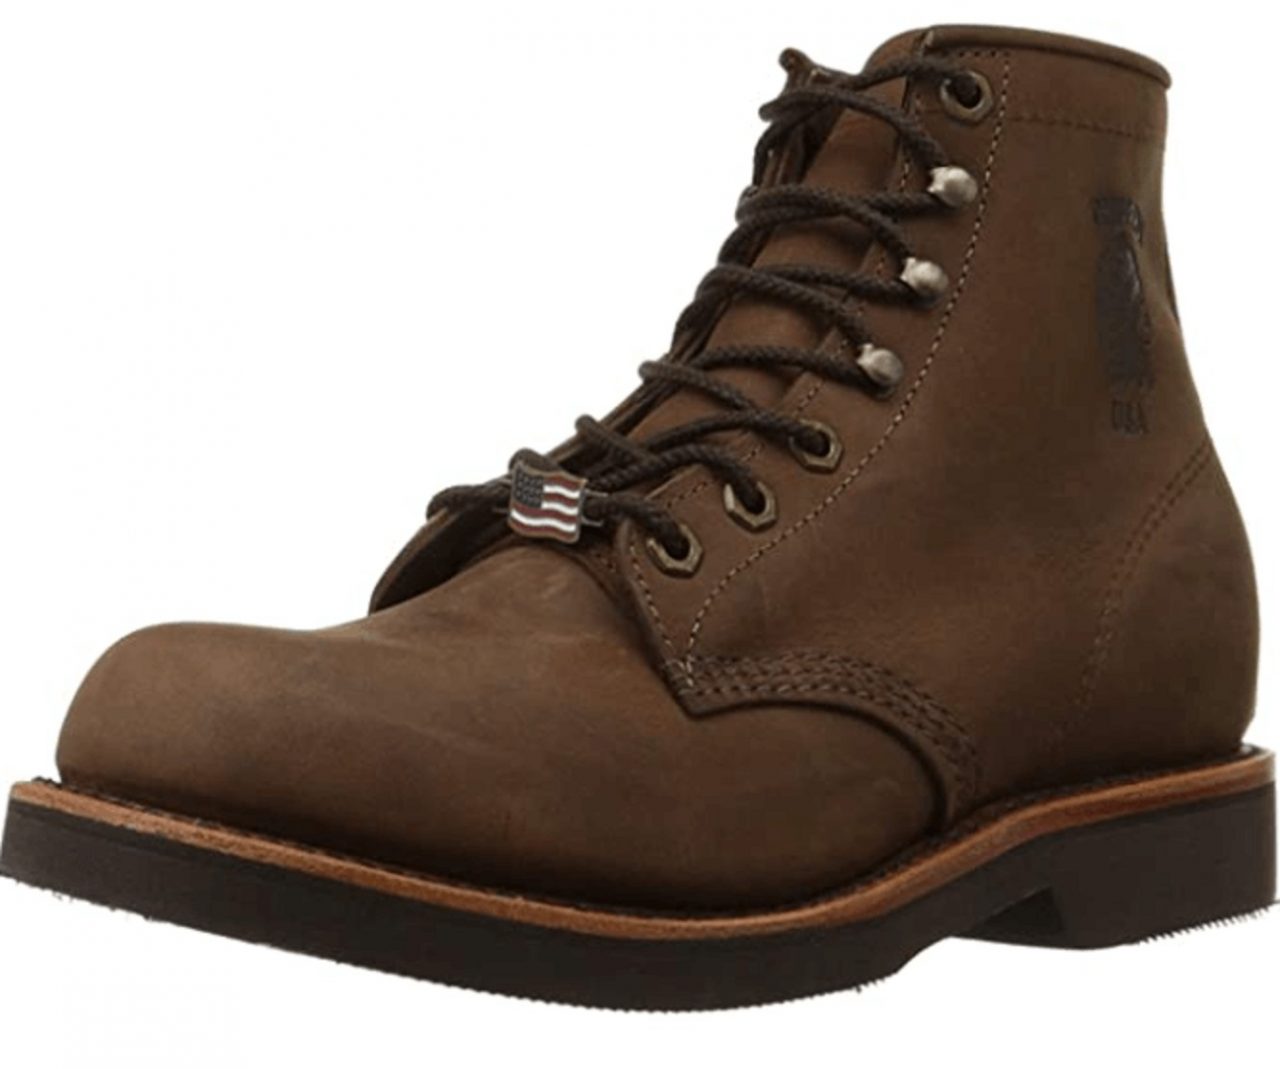
In most scenarios, the boots with a worn-out boot heel are some of your most expensive footwear; therefore, it is a big mistake to purchase a new pair of boots just because the heel is damaged. The best solution, in such cases, is to learn ways to fix your broken boot heel at home. The process of fixing your boot heel is simple, cheap, and doesn’t take much off of your time. This entire process takes approximately 10 to 15 minutes.
There are countless ways to get your boot heel professionally fixed; however, the three most common ways to improve your damaged boot heel at home include replacing the old heel with a new heel, repairing top lifts of the heel block, and fixing loose or broken heel sole.
Replacing old heel with new heel
One of the many ways of how to fix a broken boot heel is by removing the old heel with a new heel. This at-home process consists of five simple steps.
Remove old heel
First, start by using pliers to remove the boot heel nails from the old boot. Then, you should remove the old heel by slowly pulling it backward.
Smooth off the surface
After removing the old heel, it is time to take sandpaper and smoothen off the rough surface of your boot (where the old heel was initially placed). This step can be more challenging and take more time. However, it is still manageable to be done at home by yourself.
Prepare the heel for the new one
Once you have smoothed off the rough surface of your boot, it is time to prepare the heel for the new one. At this point, you should use the adhesive to attach the skived leather section to the heel area of the boots where it has been severely worn out or rubbed off. Once again, use sandpaper to make the leather surface smooth and get it ready for the next step.
Add the new heel
Using boot heel nails, attach the new heel to the boots above the leather piece. Using a hammer, pound the nails into the boots. Make sure the nails do not emerge within the boots since that can cause damage and injury to your feet.
Smooth the new heel
Once again, use sandpaper for the last polish to the heel and the leather section on the sides. Finally, coat those side sections with boot polish that matches the color of the new heel.
And just like that, you are done with the new heel insertion!
Fixing top lifts of the heel block
Fixing top lifts of the heel blocks is one of the most straightforward processes on our list. In just four steps, the heel of your boot will look new.
Take off the top lifts
The process starts by using the pliers to take out the top lifts or the heel pads.
Smooth the surface
Afterward, you should smooth the surface using sandpaper. You need to smoothen off the surface to flatten it out to fit the new top lifts proportionately and make sure that no earlier glue is stuck on the surface of the heel.
Stick the new top lifts
Apply two coats of adhesive to the new top lift and heel, then set aside for approximately 10 to 15 minutes. Finally, place the top lifts on the heel.
Smooth the new top lifts
At last, using sandpaper, smooth off the sides of the heel again so that the top lift follows the exact form of the heel, and no part of the top lift can be seen hanging out from the ridges of the heel.
Coat the boots up using your favorite boot polish, and you are good to go.
Fixing loose or broken heel sole
Fixing loose or broken heel soles is one of the fastest processes. Following only three simple steps, you can fix your loose or broken heel sole all by yourself.
Pull apart the sole
Using a plier and slowly pulling backward, pull apart the sole as much as possible from the heel.
Glue the sole
Take the adhesive and apply it on the sole and the heel of the boots and let dry for approximately 10 minutes. Afterward, make sure to press the sole firmly onto the heels and hold for a minute.
Nail the sole into the heel
Hammer the nails right into the sole so that it is firmly secured to the heels.
Finally, allow it to fully dry, and your boots will be as good as new.
Conclusion
Exactly when you think that your boots have finished their mission and they can no longer serve you any good, we are here to tell you that you couldn’t be more wrong. There are many tips and tricks you can use to prolong your boot’s life. When it comes to issues with your boot heels, make sure you take matters into your hands and use one of the many ways to fix them before deciding to get your boots professionally repaired or even wanting to purchase a new pair.